
To this tinted/smoked look...

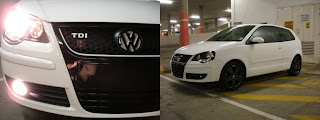
Here's a comparison shot:

And the end result fitted to this neat Polo (at night)

It looks absolutely great on the white car, and makes the rear look menacing!
By day...

(pictures courtesy of Nic and Shaun)
 To this, sporty, OEM+ look:


 So after removing the dent and sanding the area to be sprayed. I applied a fresh coat of VW's finest white, and this is how it ended up to look like:
 Scratches sanded down, and bumper resprayed:
 Shiny does it!
 The bits he wanted me to paint was the side mirrors and the B-pillars. The B-pillars is matt black and actually splits the nice shiny effect that the tinted windows create . The colour he was after was gloss black. Nice

 And this is how it looks on the car! The B-pillars create the effect of a large side window, and the black mirrors on the white Polo looks real neat!


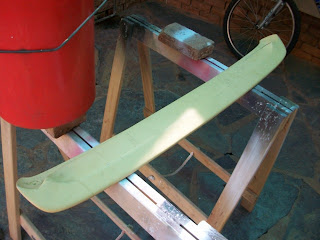
First, the lips were sanded to remove any and all nasty scratches, and a coet of plastic primer was applied
Next the MS primer was laid on the valences, to ensure a good hold.
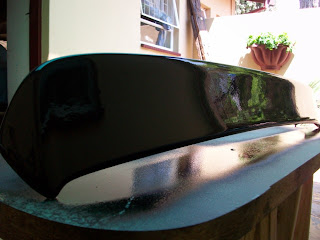
The base coat was then appied and shortly after it dried, the top clear coat was splashed on to give a shiny smooth end result
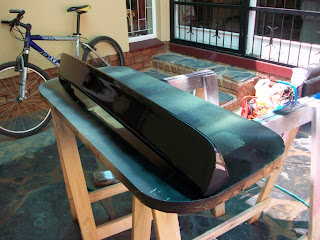
After re-fitting the valences, the end result is a phatter and more aggressive look! The car looks much nicer and more rounded off. 


 The polypropylene (plastic) primer was next to go on, to ensure strong bonding of the paint anto the valence

MS Primer was applied next, and tediously sanded smooth to give it that super smoothed look before the matt black goes on. As seen here, smoooth...


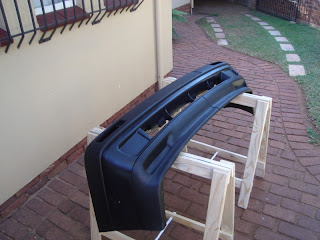
Then started the masking process, carefully making sure that there are no holes for the overspray to get onto the top and bottom parts of the bumper.
The polypropylene (plastic) primer is a must on bare plastic surfaces, else the 2K top coat wont stick, and the paint will peel in no time!
As seen in the pic, the plastic primer has a sort of metallic silver finish

After the red coat wash splashed on, the final product really looks super good! Smooth, fresh and shiny...


.JPG)
.JPG)
.JPG)
.JPG)
.JPG)
.JPG)
.JPG)
.JPG)
.JPG)


